Continuing to teach music during school closure is a challenge, no doubt about it! Here’s a quick video activity you can put together for your students as a learning module. Note that the ideas here can be adapted for your youngest learners, or made more difficult for older ones. Really, once you’ve got a basic setup that works for you, the sky’s the limit!
The basic concept of a rhythm conversation is that of a call-and-response rhythm drill, using rhythmic vocabulary students already know and can do. For this project, the teacher speaks a brief rhythm pattern on the video, and the student echoes the pattern back at home. If you’re low on preparation time, start very simple. If you find great success with the activity, you can always ramp up the challenge later, or offer some of the extensions I’ve listed at the end of the article.
Set your parameters:
These will likely be centered around grade-level expectations within your curriculum, and using whatever rhythm pedagogy your school uses: Kodaly, Edwin Gordon, Takadimi, number counting, or even mnemonics.
Make your visuals:
These could be as simple as pieces of paper or cardstock with a single measure of rhythm written on them. If you’ve got the time and/or experience to create a slideshow or use video editing software, you can do that, too. I suggest starting with short, simple patterns of no more than a measure, and then introducing variety and longer phrase lengths over time. It is perfectly okay to repeat and reinforce patterns! Most phrases in music are related, so simple variations on a basic pattern are a great way to reinforce those notation skills.
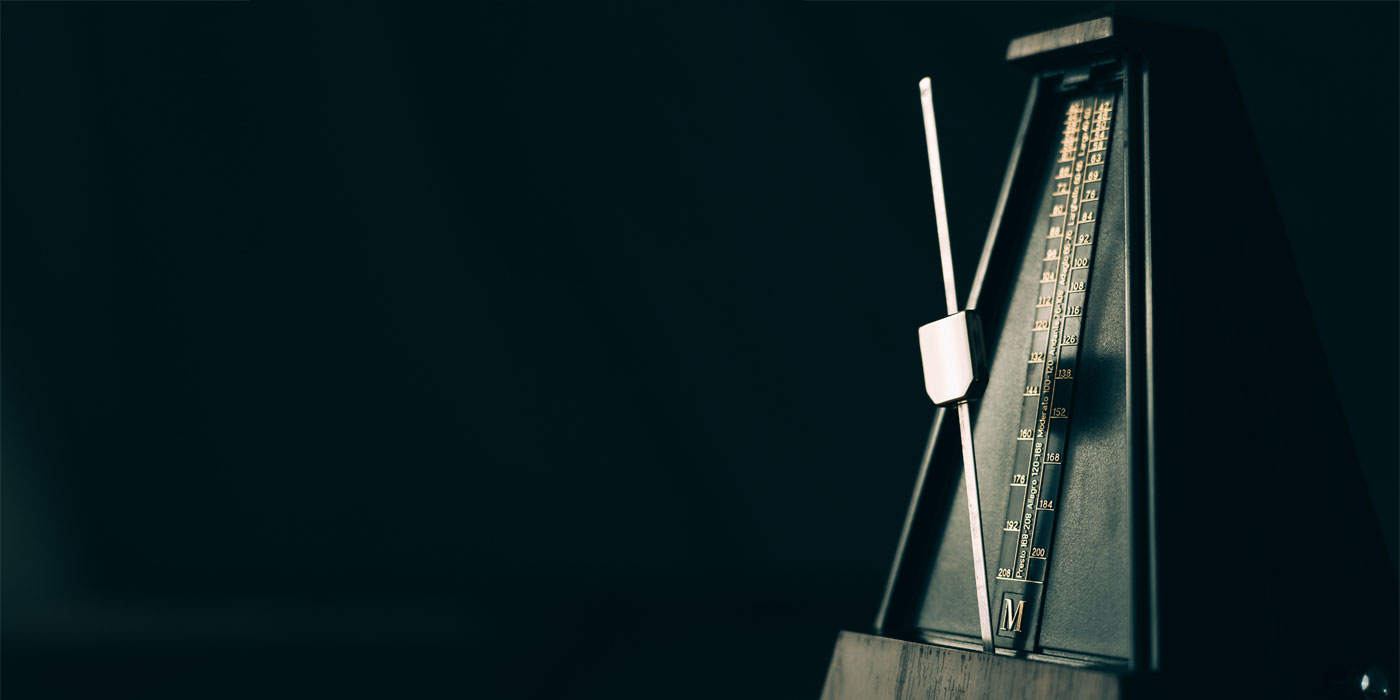
Choose or create a track:
You can do this using software like SmartMusic, Finale, or even GarageBand, or try downloading a track from a site like GuitarBackingTrack.com. I’d suggest choosing a distinctive musical style (perhaps from a specific historical period, or perhaps a region of the world). Medium tempo is best for getting started, but if you find this effective, you can find or create tracks at faster or slower tempi.
Choose your recording medium:
Your phone, tablet, or laptop webcam will likely do the trick for you! You may need to experiment a bit with audio options to make sure your audio playback is clear and synced up with what appears on screen.
Tips and tricks:
- Write cue cards for your intro: Make sure you’ve worked out short, clear instructions to explain what to do.
- Get creative: wear something on-camera that relates to your theme (a green hat for an Irish reel, giant sunglasses or a spangly top for a disco track)
- Add props: younger students may enjoy props, like a puppet to sing back.
- Practice, practice, practice: it will probably take a few tries before you’re ready to record. If it’s too much, it’s always okay to simplify!
Extensions to try if the basic activity is a success:
- Invite students to try improvising their own short patterns in response to yours. One simple way to do this is to ask them to change just one beat of your pattern each time.
- Older students may enjoy creating a video of their own to share.
- Invite students to record themselves performing and self-evaluate against a rubric.
- Invite students to record themselves and send it to you for a simple assessment.

Katie O'Connor-Ballantyne is a composer, conductor, and music editor. An active clinician, adjudicator, and presenter, she previously taught choral music and theater at Johnson City High School in upstate New York. She holds degrees in Music Education and Vocal Performance from Ithaca College and the Irish World Music Centre.