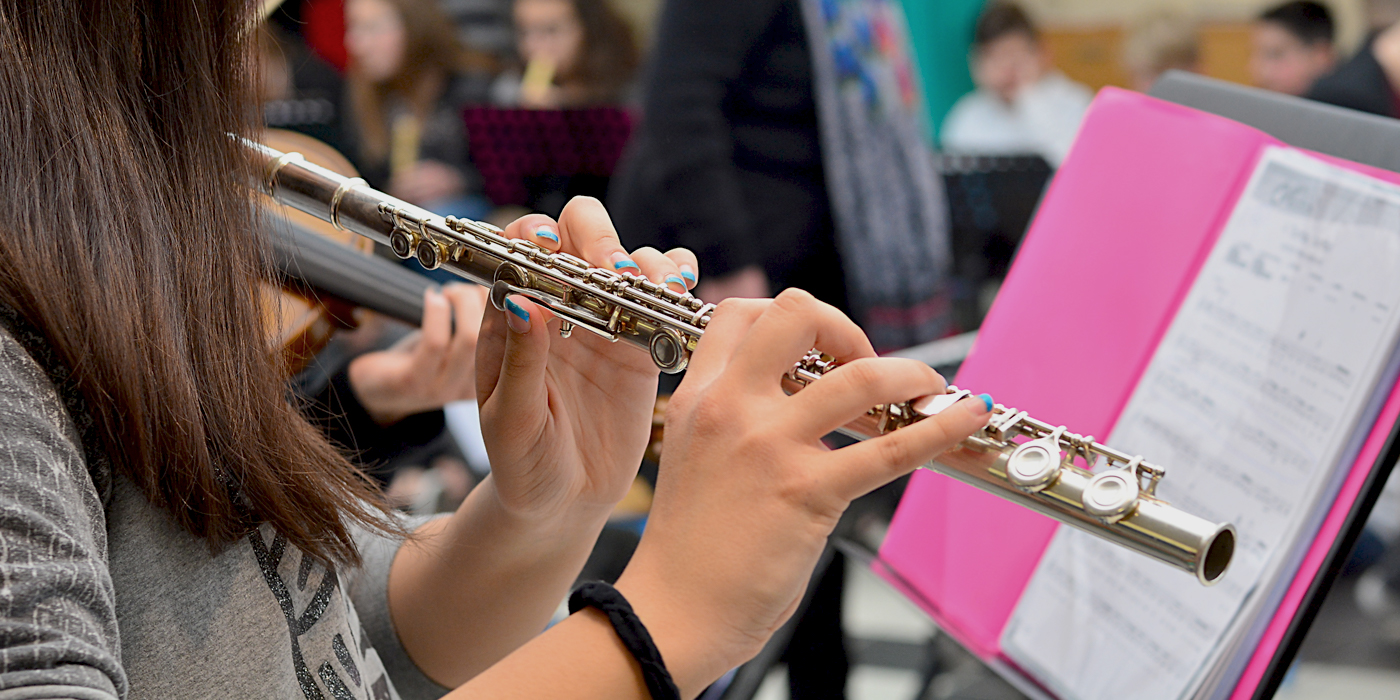
One of the biggest concerns for all flutists is, without a doubt, creating a beautiful tone. A great deal of mystery, debate, and confusion surround this subject and long-held arguments exist between different camps. Students often struggle with trepidation and worry about their own tone and will ask me for advice on how to improve it. Fortunately, fundamental principles govern flute playing and these principles are rooted in the laws of physics and acoustics. Once we learn to navigate within these predetermined and fundamental truths, we begin to work with the instrument instead of struggle against it.
How is Flute Tone Created?
Flute tone is created by blowing on a sharp edge causing the air inside a tube to vibrate due to the buildup of air pressure.
 The air inside the tube gains air pressure, and the air outside the tube remains at a lower pressure. This difference in air pressure is unstable and the vibrating air has no choice but to escape the tube at the first possible point. The longer the tube, the slower the frequency of vibration. Correspondingly we put more fingers down for low notes and fewer for high notes. (We also push in if we are flat and pull out if we are sharp.)
The Importance of Your Air Stream
Without getting lost in the details, we must ensure that we have a good air stream. Two important variables govern the creation of tone: Speed and Flow. The goal is for each student is to find the optimal combination of airspeed and steady air pressure. The air column originates deep inside our body and travels through the flute and into the world to the point that the air pressure equalizes. Air molecules are set into vibration at the point where the air strikes the lip plate. Once that happens the entire column will vibrate – including that which is inside of the lips. 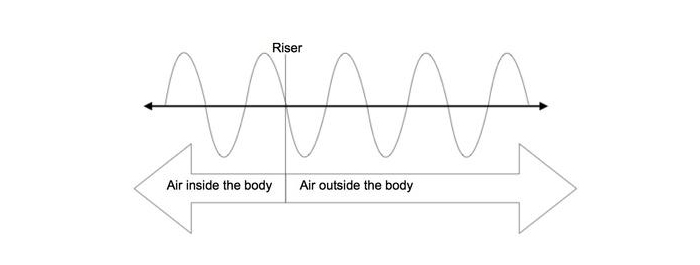
Step One
Direct students to create a funnel shape inside their mouth. This is done by relaxing the base of the tongue, opening up the teeth, and allowing the soft palate to rise naturally. When a big breath fills the mouth with air while in this position, the airspeed will be forced to increase as it approaches the embouchure. The embouchure is the smallest point of the funnel, so it must be engaged create a fast air stream. 
Step Two
Point the tip of the tongue toward the small opening. The tongue acts as a wick, allowing the air to travel on it from deep inside the body to the outside world. This allows the funnel to stay intact and keeps the back of the tongue from disrupting the airflow. 
Step Three
Allow the base of the tongue to relax and lay flat. The base of the tongue should be in a neutral resting position. This area of the body must remain neutral and allow air to flow from low in the body.  Next, instruct the student to take in a full breath and send the air through the flute. Notice that this position requires more air as a larger resonating cavity has been created. I tell students to think of this like yoga for the flute: you have just become more flexible and you must now fill up a bigger space with air than previously.
Remind students to take in a bigger and more relaxed breath to optimize their tone!

Exercises
Blowing Kisses
- Kiss on the center of the palm creating suction while gently pulling away the hand, observe the lips reaching out.
- Blow on the palm, observing the lips reaching out and shaping a highly focused airstream.
Headjoint Only
- Place the headjoint in the crook between lip and chin with embouchure hole level with the floor. (“Don’t spill the drink.”)
- Blow in the same manner as in the blowing kisses exercise.
- Use the bottom lip to aim the air higher and make higher notes, the top lip to aim lower and make lower notes.
- Practice with open tube, closed tube, from low to high with closed tube, low to high with open tube.
Headjoint with Chopstick
- Repeat the headjoint-only exercise with a chopstick in the mouth, forcing the lips to reach forward.
I hope you find this information useful as you guide your students toward creating a beautiful tone.